

How To Install Heavy Windows
It's safe to say it's quite obvious as to why houses and other buildings have doors and windows. Their function is cocky-evident, but what may not be as obvious are some of the problems that can arise when those features need to be replaced.
The skillful news is that most doors and windows have a decent lifespan. The even better news is that, when the time comes to replace them, yous can do it in a few piece of cake steps, provided you have the correct tools and materials. Thanks to Buildworld, getting what you need is quick and elementary. You can visit our online shop, lodge what y'all need, and have it delivered to your preferred address, whether you are in the UK, Scotland, or Ireland.
The Tools Yous Need
You are going to crave several tools when you install your new window or door, and information technology is important to make certain that you have them all before y'all start the project. Gathering everything you need and making certain it is at paw can help yous avoid unnecessary delays as well equally the temptation to 'wing it', especially when it comes to checking the measurements or whether things are level.
Remember to make sure your work is in keeping with local building regulations and be sure to get whatever permissions required from your local council before you beginning work.
Basic Tool Checklist:

Installing a New Window
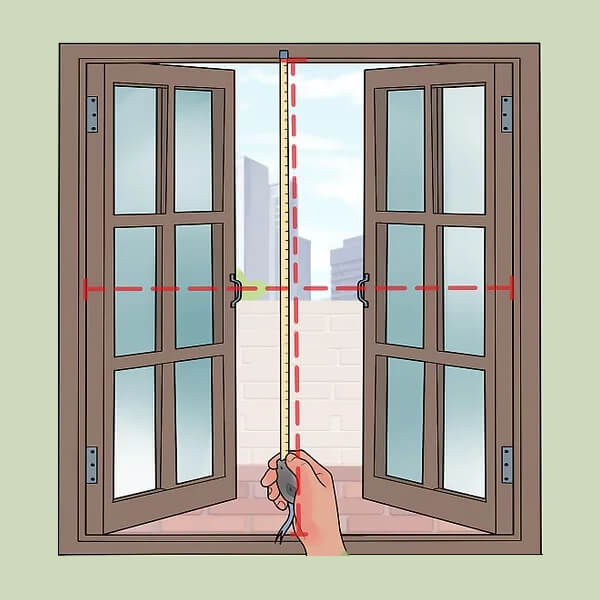
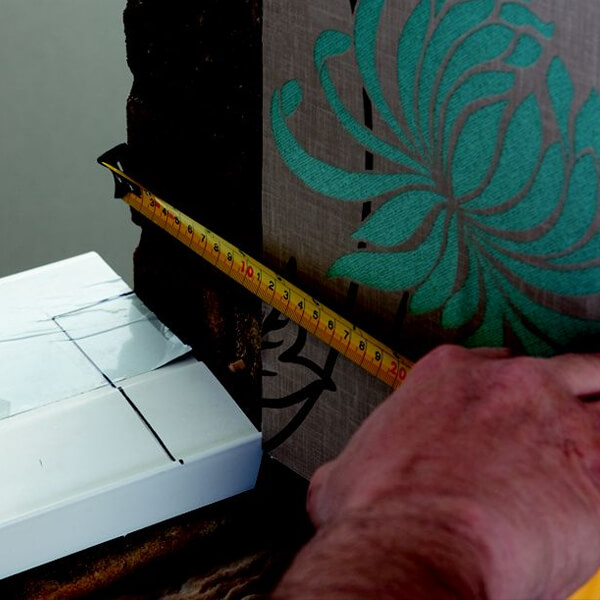
If information technology's time to replace an sometime window, the first thing you should practise is to use your tape measure to mensurate the width and the length of that window so that you know what size to purchase. Measure a 2d time to make sure you were authentic.
When you are ready to go ahead with the installation, you can start past removing the old window. Be sure to wearable thick gloves and safety goggles when working.
Removing the Old Window
one. Unscrew windows that can open at the hinges and lift them out of the frame. You may need someone to requite you a mitt with this. Remove fixed panes by removing the putty and the beading. When all the panes are out, use a handsaw to make angled cuts through the frame's upright sections.
2. Remove the frame by hammering the curved end of a crowbar into the cut you fabricated on one side of the frame. Pull the crowbar upwards. Doing then will widen the articulation and allow you to remove the lower section. Yous can employ a bolster chisel in place of a crowbar. Use the crowbar to remove the upper section. Follow the same procedure to remove the side sections.
iii. If screws were used to set the frame, use a small hacksaw to cut through them.
Preparing the New Window
1. Measure the new window to make sure it will fit the space, allowing for a 5mm gap around the frame. If you lot demand to increase the size of the new window, yous can add every bit much as 40mm to it by using frame extenders.
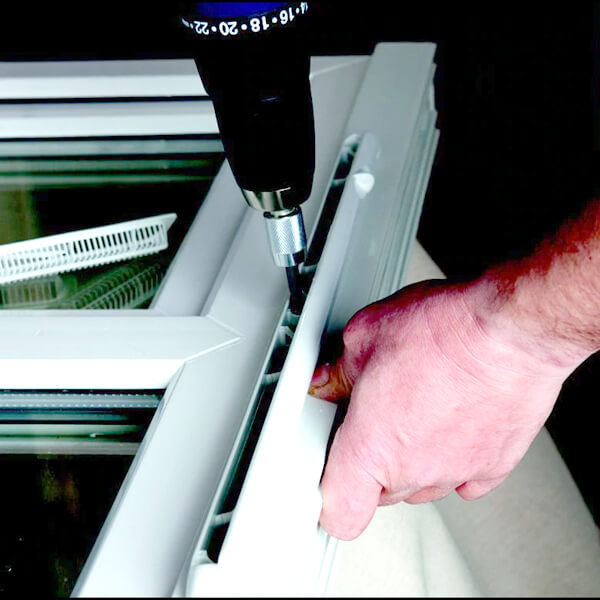
2. Fit the handles. This usually is washed by screwing them in place.
3. Adjust the size of the outer sill. Do this past measuring the depth of the outer wall then cut a notch into the sill and so that it fits around the brickwork. You tin use a hacksaw to cut the sill.
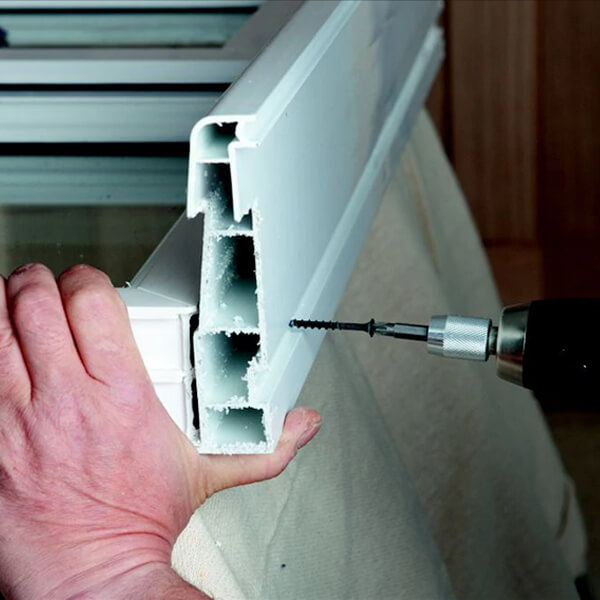
four. Attach the outer sill to the frame by screwing it in place, and and so slide the frame fixers downwards the frame's side-tracks.
five. Adhere the ventilator grille to the internal side of the frame, and and then put the cover vent in its place.
Installing the Window
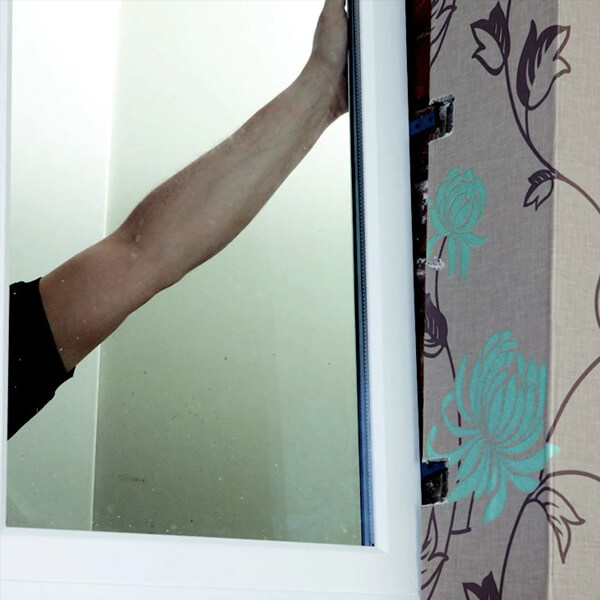
1. Mark the points at which you will adhere the new window by making marks in the internal plasterwork. Put the new window in identify and utilise spacers known as shims to wedge information technology in identify.
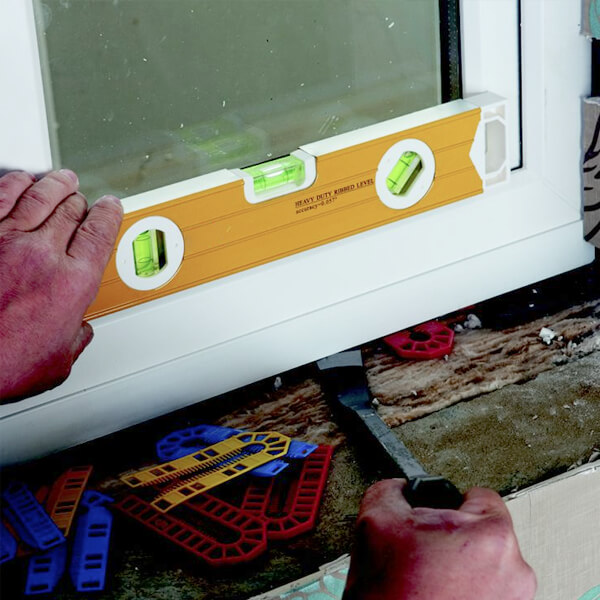
2. Utilise the spirit level to check that the window is level and vertical and utilise spacers if you demand to make any adjustments.
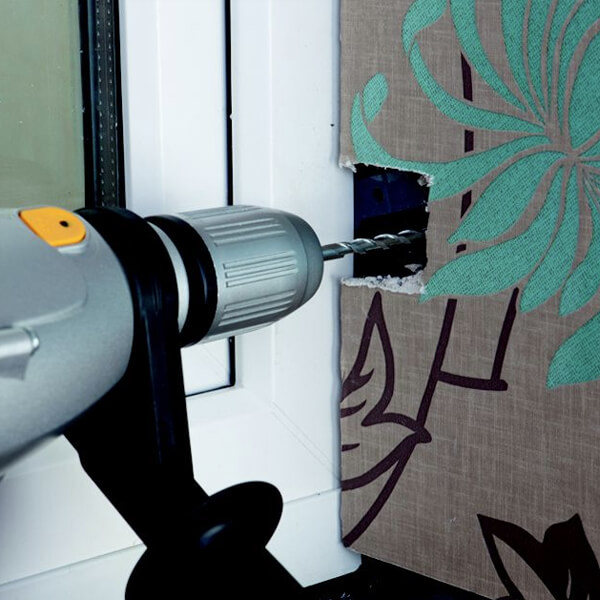
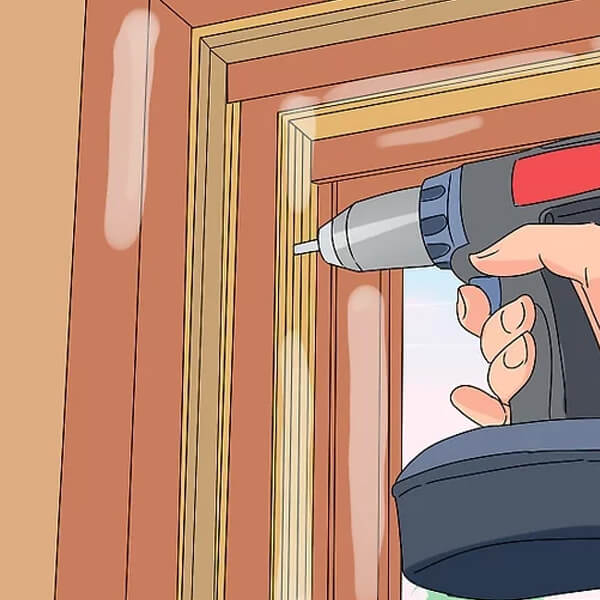
3. Drill airplane pilot holes at each of the fixing points, insert wall plugs, and then spiral the frame in identify before measuring and cutting the interior sill to fit. Utilize the spirit level to check that information technology'southward level, and insert spacers if need be. Use screws, an appropriate adhesive, or masonry nails to fix it in place.
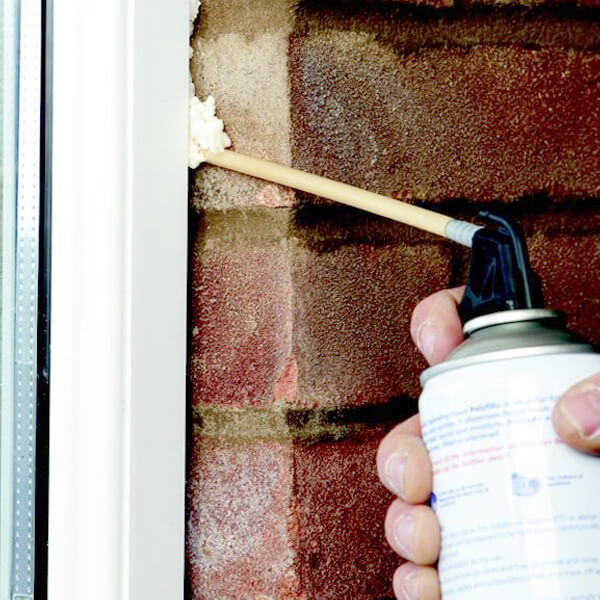
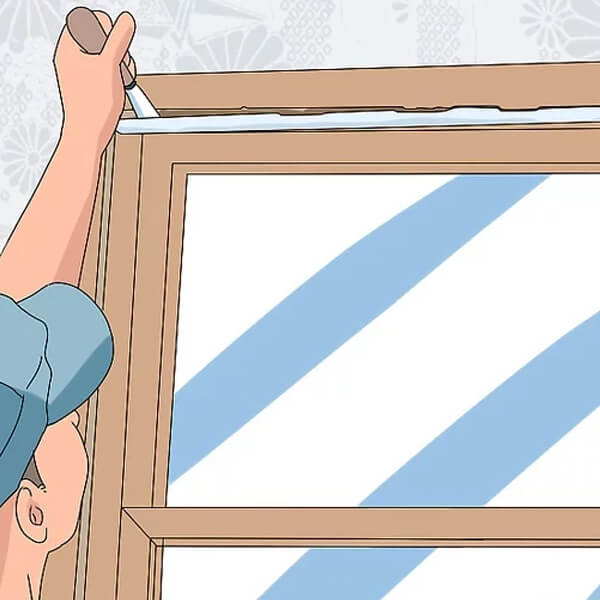
4. Use expanding foam to fill big gaps effectually the exterior of the window, and and so trim it with a utility knife when dry. Use frame sealant to make full smaller gaps.

five. If you want a more than finished look, use a trim that you tin stick in place with frame sealant.
Installing a New Door
Before purchasing a new door slab, measure the width of the quondam door at the bottom, middle, and summit, and use the widest measurement. You too need to measure the length and thickness. When you have your new door slab, you can start the job by removing the old door. Remember to use protective gear such as gloves and goggles.
Removing the Old Door
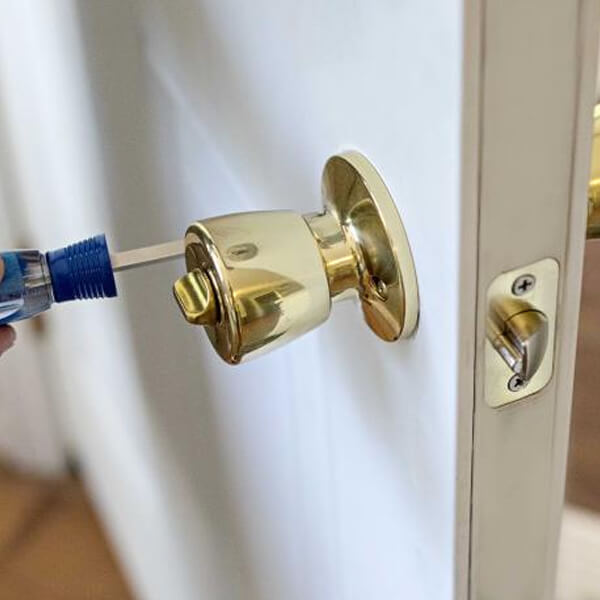
1. Earlier taking the former door off the frame, employ a screwdriver or drill to remove the knob or handle, likewise as whatever other hardware.
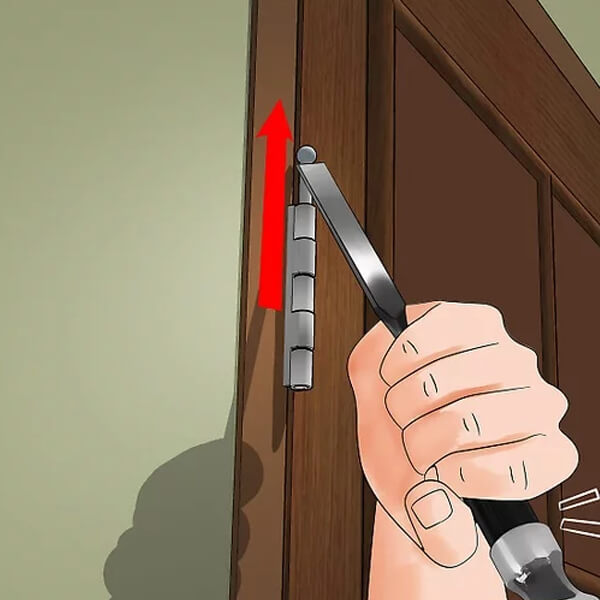
2. Utilise a screwdriver or drill to unscrew the screws from the hinges on the door, and then remove the door from the frame. If you are working on a pre-hung door, remove the hinge pins with a flathead screwdriver and a hammer before removing the hinges.
Preparing the New Door
1. Check the fit of the new door past placing the new slab in the frame. If you lot need to hold information technology in place, utilize spacers known every bit shims.
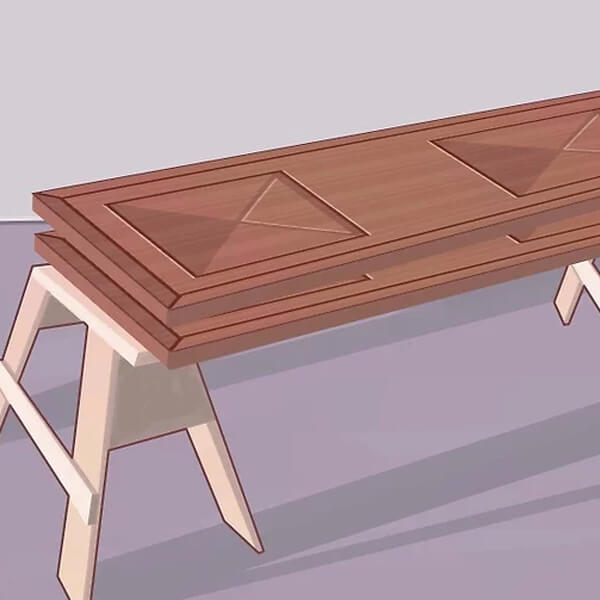
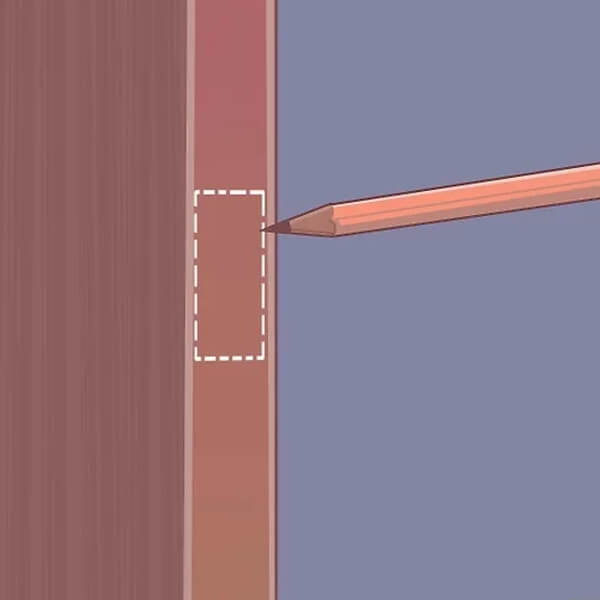
2. If you demand to trim the new door, the easiest fashion to signal where adjustments should be made is to lay it on a apartment surface, and then to identify the old door on acme of it. Use a pencil to make the appropriate marking. Remember to orient the doors correctly, and to trim at the lesser.

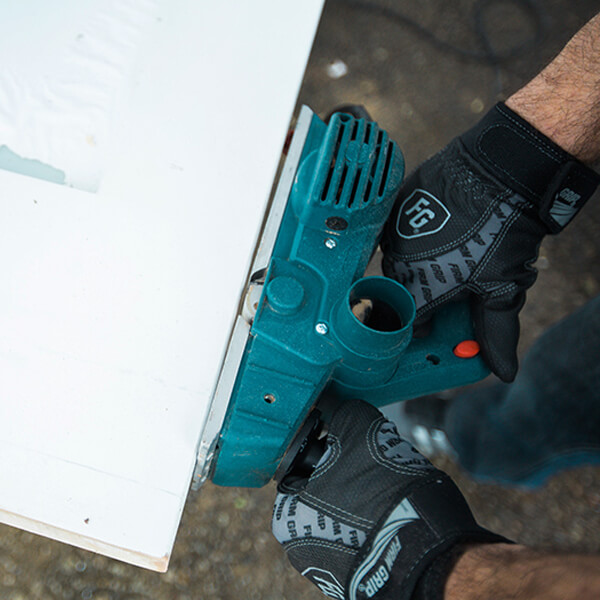
3. Score the line with a utility knife, and and then cut the new door slab to size using a circular saw. Utilize an orbital sander to smooth the rough edges.
4. Identify the former door slab on the new slab, and so use a pencil to marking the locations of the handle/knob and the hinges.
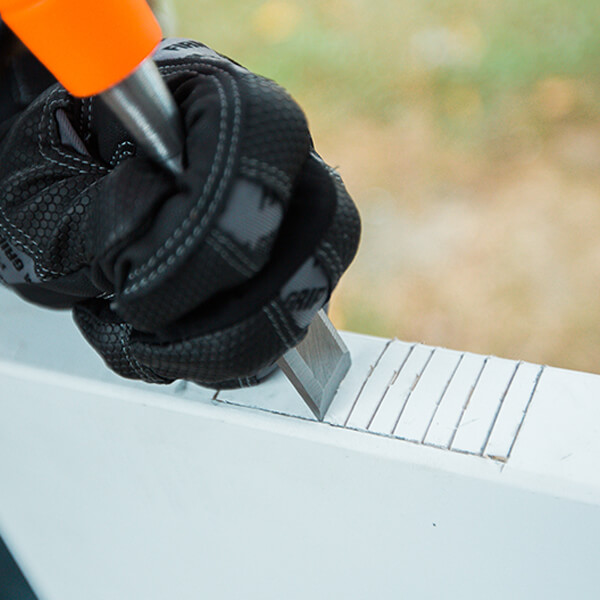
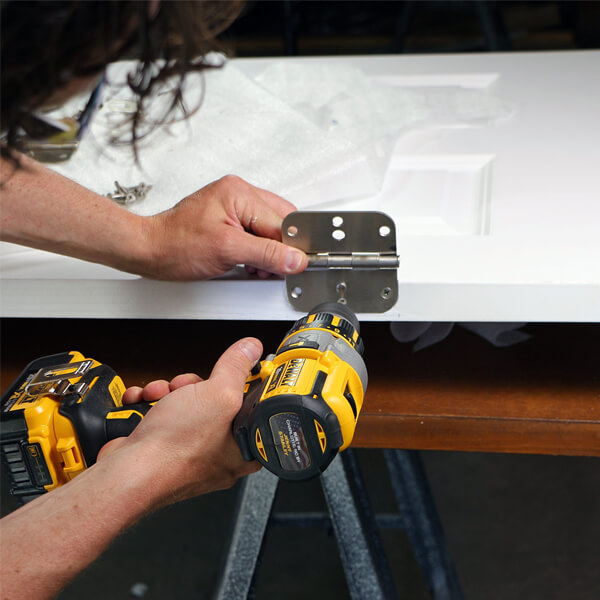
5. Apply the utility knife to score the lines where the hinges volition go, and and then use a hammer and chisel to notch those areas. You lot tin can then knock off the notches with the chisel.
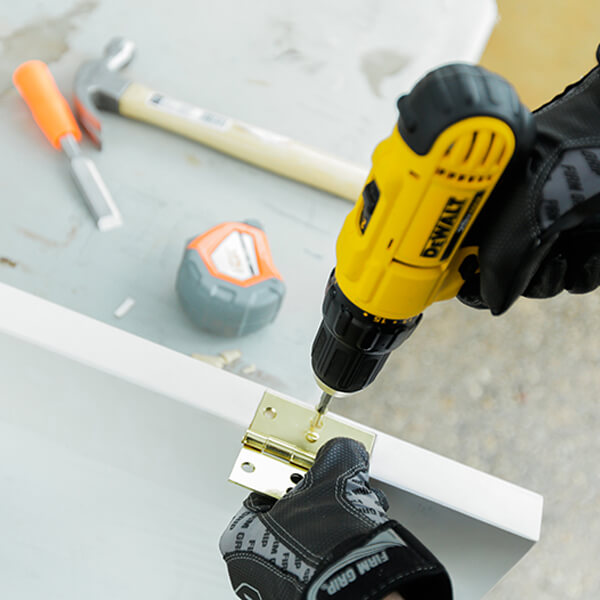
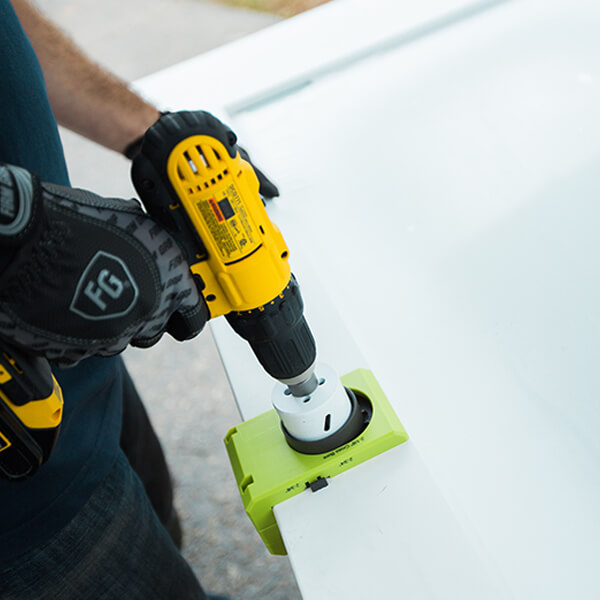
6. Adhere the hinges to the new door slab, and and so use the screws that came with the lockset to secure information technology to the door. Drill a hole into 1 side of the slab and then the other, and and so drill a pigsty for the latch in the side edge.
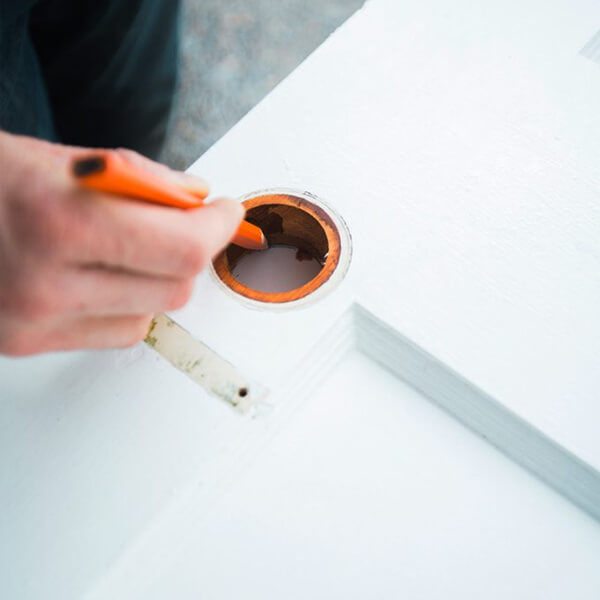
7. Fit the latch by tracing information technology with a pencil, scoring the line with a utility knife, then chiselling it equally yous did for the hinges. The latch should be flush with the edge of the door.
Hanging the New Door
1. Afterward plumbing fixtures the latch, accept the new door slab back to the frame and employ shims to hold it in place.
ii. Screw 1 side of the hinges in place on the door frame.
3. Hang the new door and check that it fits perfectly. If not, use a pencil to mark the areas that need to exist trimmed.
4. Remove the door from the frame, and then use an orbital sander or planer to make the necessary adjustments. Re-hang the door and check that it fits. If not, make further adjustments. If it does fit, go along with installing the lockset. Consult the instructions that came with your set, as each set is slightly unlike to the next.
5. Later on installing the lockset in the new door slab, attach the latch plate to the door frame. Line up the plate with the latch, marking information technology with the pencil, score the line with the utility knife, and then use the hammer and chisel to notch information technology. Use a screwdriver and screws to screw the plate in place.
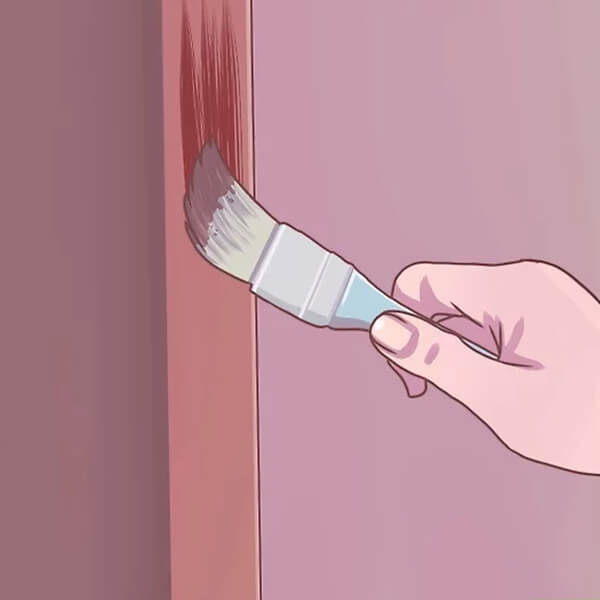
6. Paint the door as required. If the door has any glass in information technology, remove the plastic sail covering the glass when you lot are finished painting.
Whether you are installing a new window or a new door, yous should non discover it likewise hard. That said, information technology can be a time-consuming process, so be prepared to spend a few hours on it. Installing windows may take longer than installing doors, so it may help to make certain you have polythene sheeting to cover the space(s) if you need to keep with the project the following twenty-four hour period. If you lot have any questions or need any recommendations, Buildworld's friendly staff will be more than happy to assist you.
Related Articles


Source: https://www.buildworld.co.uk/blog/archives/How-To-Install-Windows-And-Doors
Posted by: bowersockle1995.blogspot.com
0 Response to "How To Install Heavy Windows"
Post a Comment