Decorating Garland For Christmas Diy
Follow these step-by-step instructions to make a gorgeous, professional-looking Christmas garland to decorate your home for the holidays this year.
Garland is one of my favorite ways to decorate for Christmas. A pretty garland on the fireplace mantel is such a classic look. Today I'm going to show you how to create beautiful holiday garland. I'll teach you all the tips and tricks to making it look professional and expensive and awesome. Christmas garland is something you can definitely DIY, so let's do this!!
Watch this quick video tutorial to see exactly how I put my garland together.
Christmas Garland Video Tutorial
And here are the step-by-step written instructions for creating stunning, expensive-looking DIY Christmas garland.
1. Double up the greenery. Most pine garlands are too thin to look expensive. It's a simple fix… just wind two or three together for a luxe look and spend plenty of time fluffing out all of the branches.
2. Add lights. String them on thick and try to tuck the wires into the branches as much as possible. If your garland came with lights, you still might want to add more so it's extra bright and twinkly at night. And I love the look of using two different types of lights— like mixing standard lights with larger bulb lights or star-shaped lights. It adds dimension and interest to the finished garland. One other thing to consider with lights is whether your garland will be near a plug. If not, there are lots of battery-operated light strings that will work.
3. Add ribbon. The trick to getting ribbon to look great on a garland is to buy wired ribbon and to use florist wire. Prep your ribbon by twisting an eight inch piece of wire around the ribbon every 12 inches.
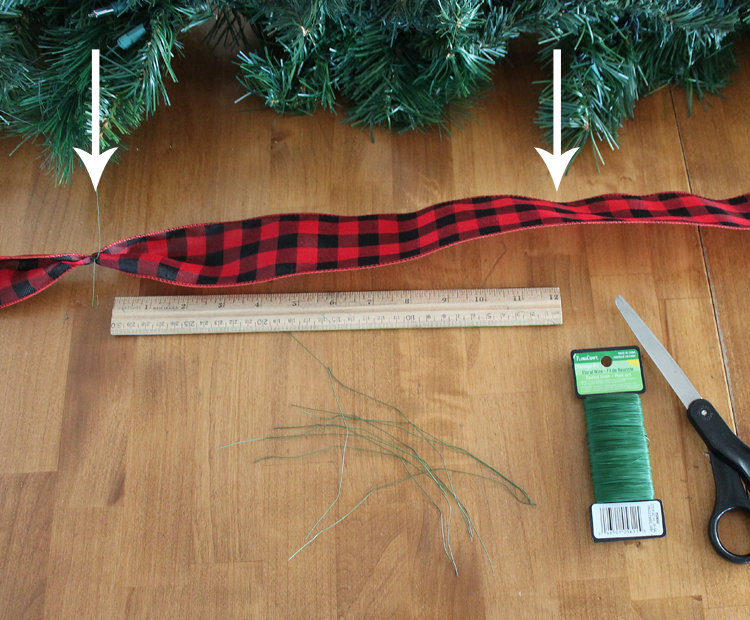
Then use the florist wire to attach the ribbon to the greenery. See how it makes the ribbon poof? So pretty!
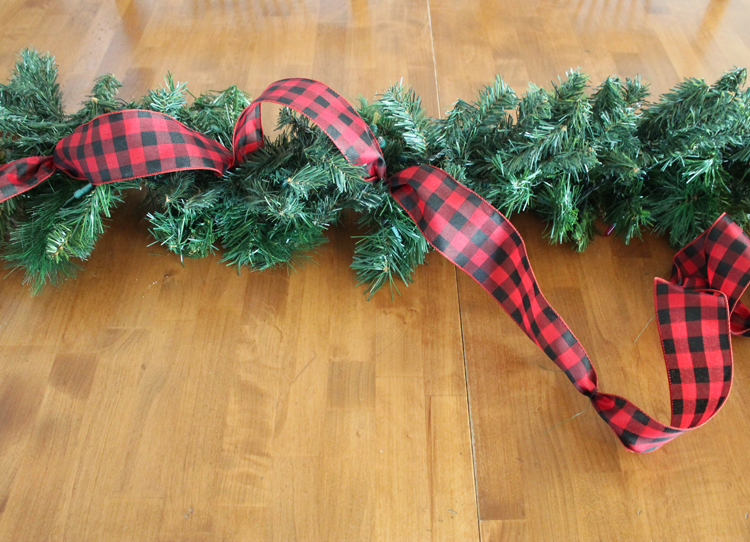
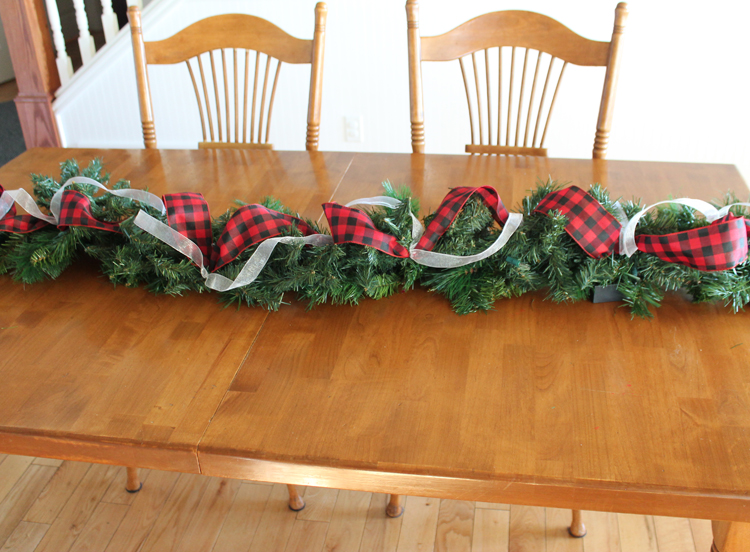
4. Add a second, contrasting ribbon. Since I used a wide printed ribbon, I chose a transparent solid ribbon as my second. I love transparent ribbon on garland because it catches the lights and makes things sparkle at night.
5. Add details. This is the fun part! Now you get to add all of the cute ornaments, floral picks and other accessories that take your garland to the next level and really make it special. You can use anything you'd like for this part. Just make sure to attach anything breakable securely with florist wire. I usually put my garland in it's home before adding the details so I make sure the placement looks right.
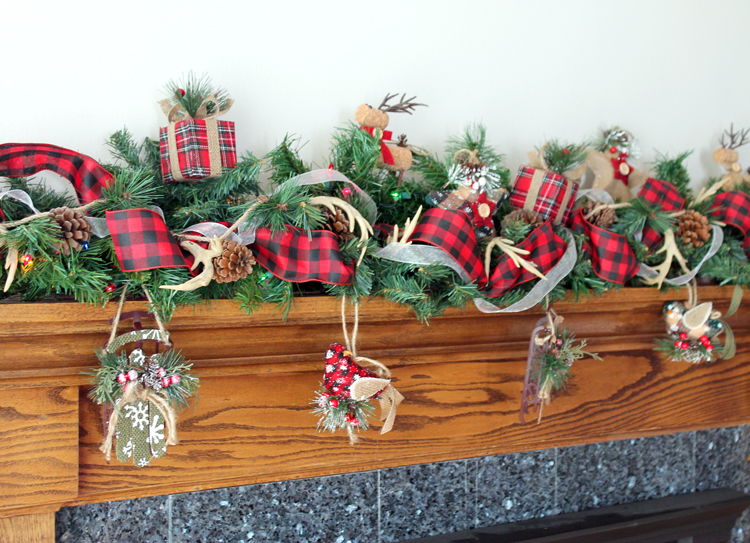
I already had the greenery, but I bought the ribbon and all of the cute ornaments and floral picks at Big Lots. They have awesome Christmas decorations in a variety of styles… and good prices too!
My other favorite stores for Christmas decor are Hobby Lobby, Joann and Michaels, especially when their stuff goes on sale. Hobby Lobby has the best price on ball ornaments, Joann has the best ribbon selection, and Michael's has the best floral picks.
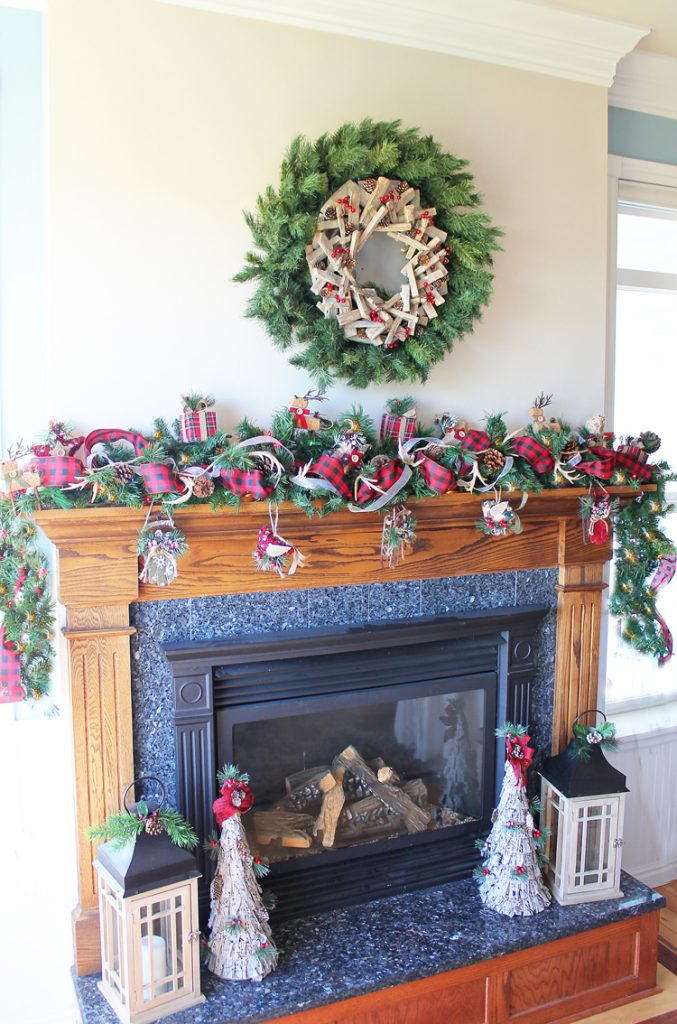
Here's how the finished mantel looks:
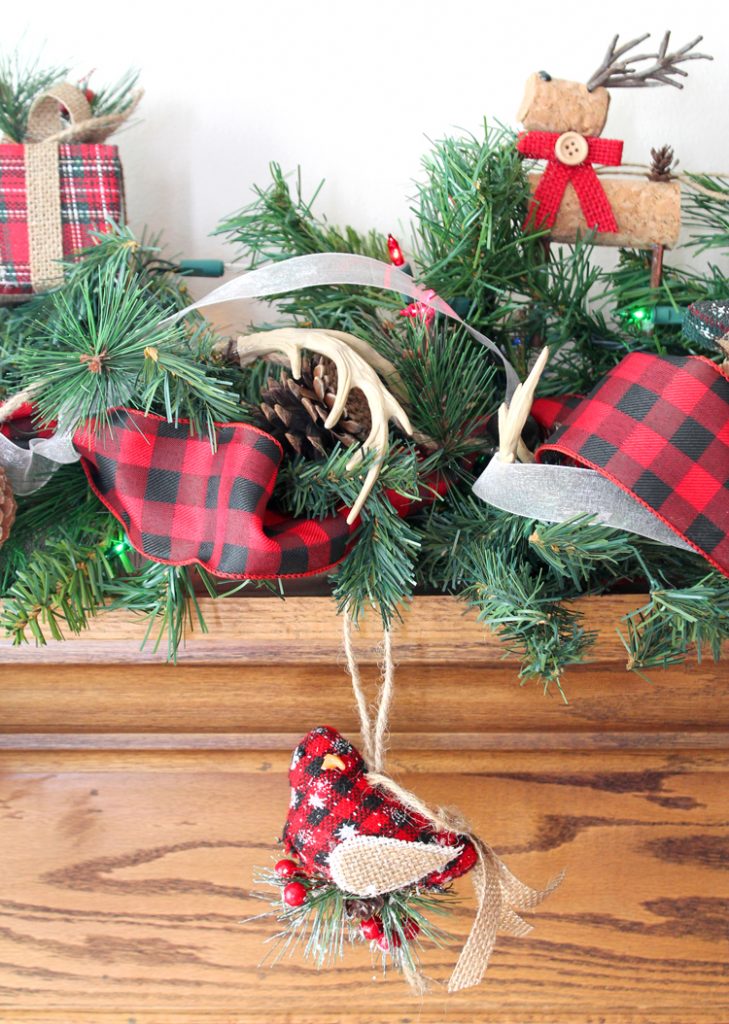
And another little close up. The antler garland is my favorite.
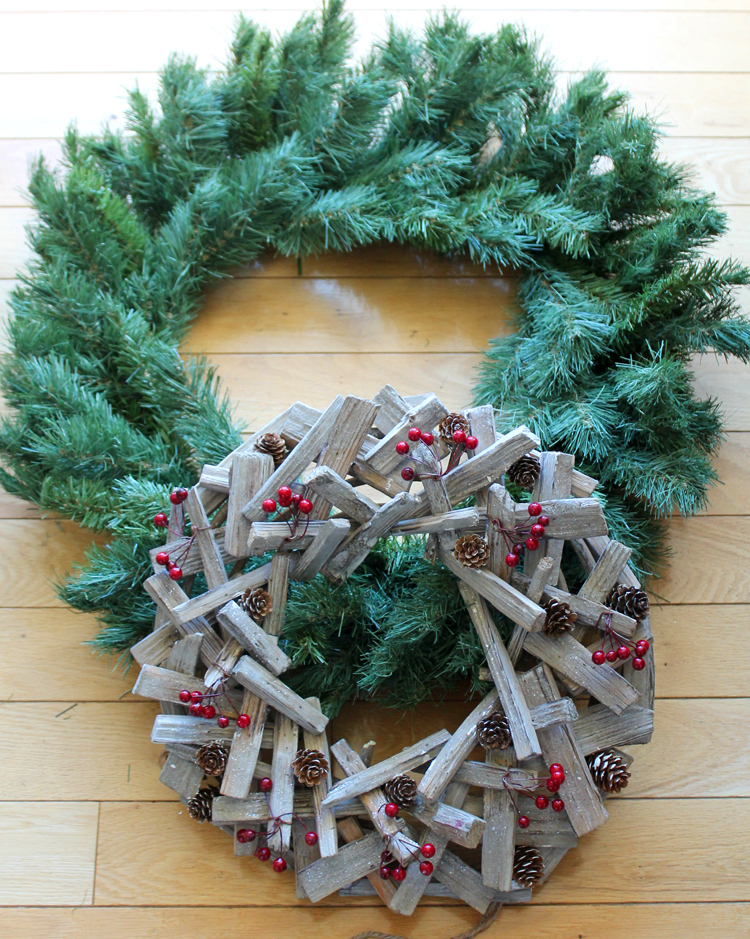
I'll share another holiday decorating tip with you. That amazing wreath is actually two wreaths layered together!

I loved the look of this rustic wood wreath, but it was a little small for my space, so I wired it on top of a plain pine wreath. It makes it into so much more of a show piece and I love the look of the two together.
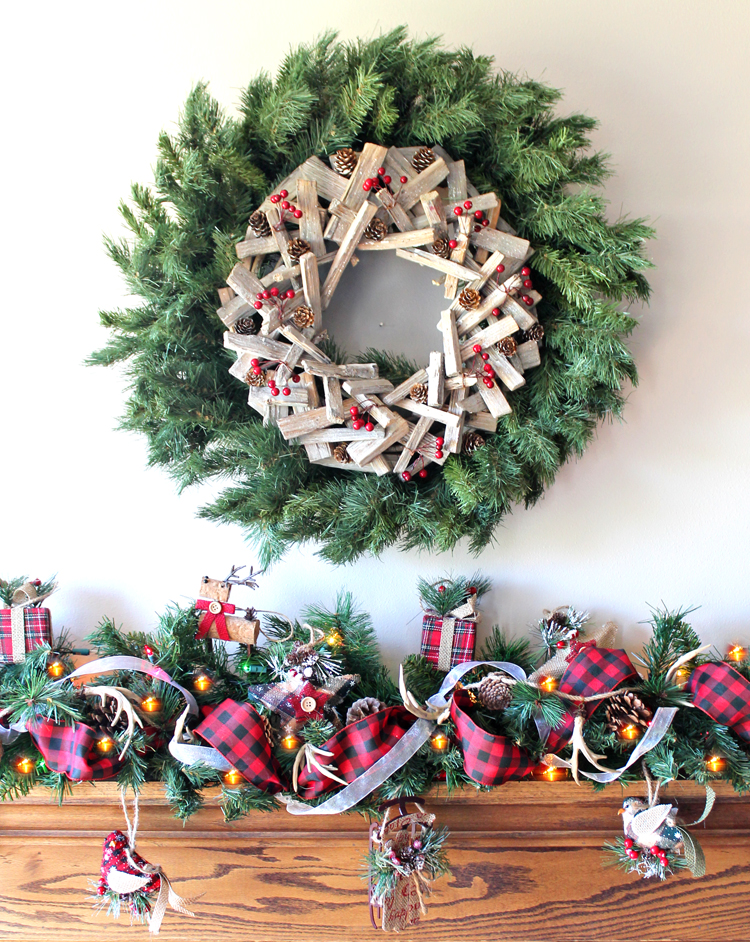
Don't you just love that buffalo check ribbon? I'm mad for plaid again this year. It's just so cozy!

I also found this awesome cone tree at Big Lots. I love the French script burlap fabric and even though I know how to make these, sometimes you just gotta give in and buy it instead.
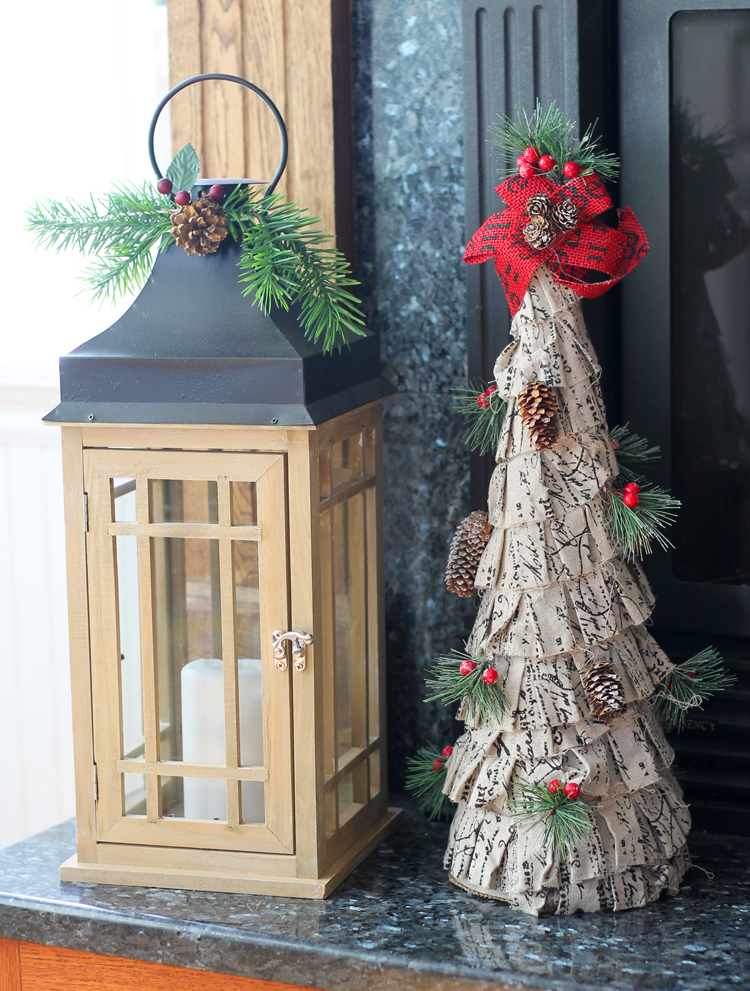
I love how the mantel turned out (this is my mom's house, by the way). It's just what I had hoped for.
Here's another mantel I decorated a different year using the same garland technique.
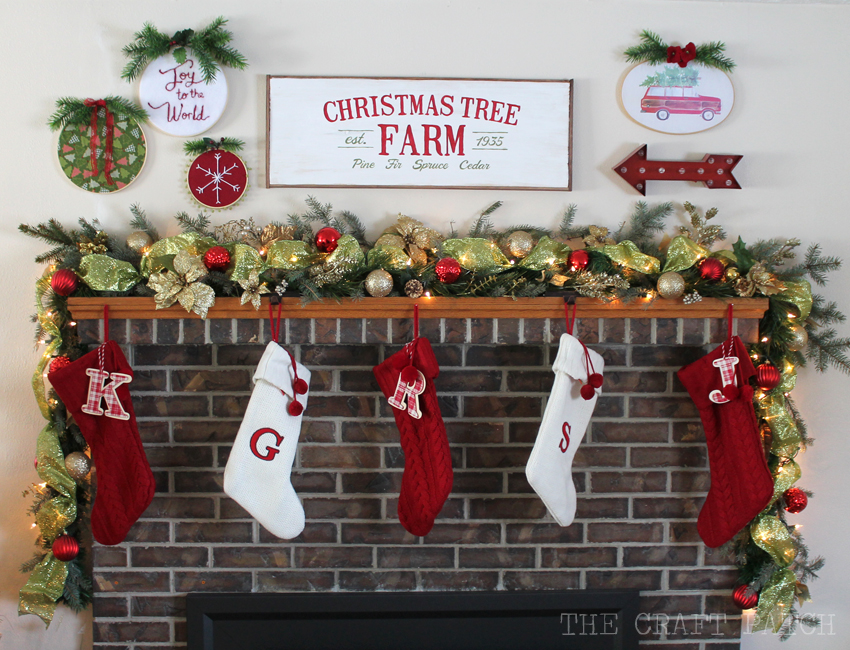
Totally different look just by changing up the color scheme.
I hope this post helps you get your home ready for the holidays. Merry Christmas!
Like this project? Pin it so you don't forget it!
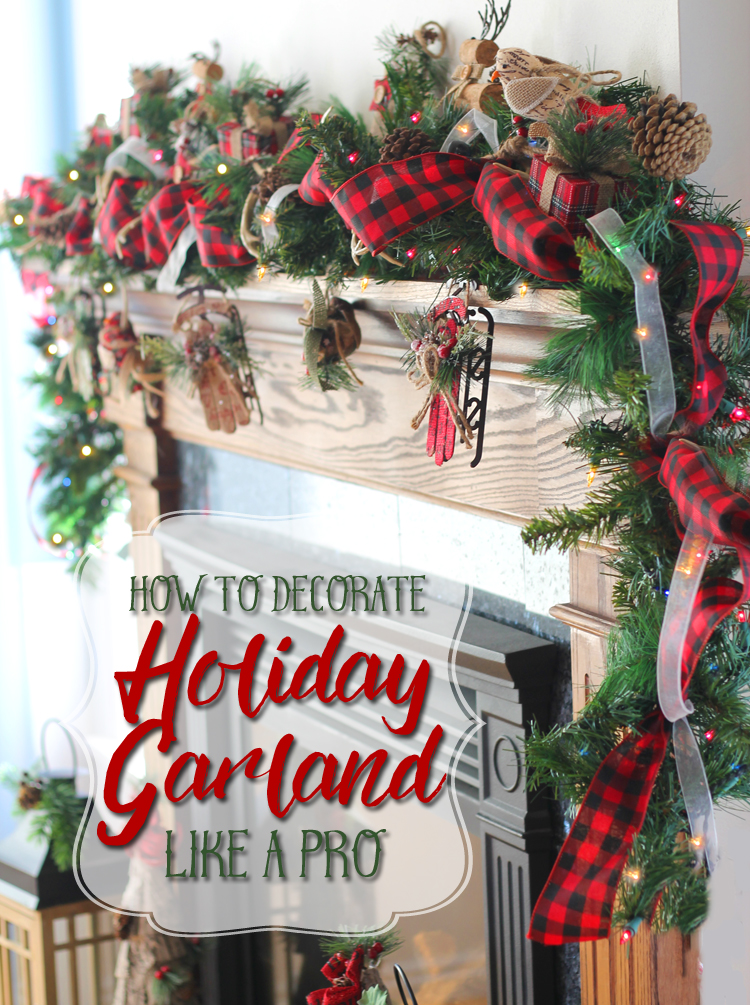
Decorating Garland For Christmas Diy
Source: https://www.thecraftpatchblog.com/diy-christmas-garland/
Posted by: bowersockle1995.blogspot.com

0 Response to "Decorating Garland For Christmas Diy"
Post a Comment